Laser Cut Wooden Vase
by thunderlaser-nolan in Workshop > Laser Cutting
11 Views, 0 Favorites, 0 Comments
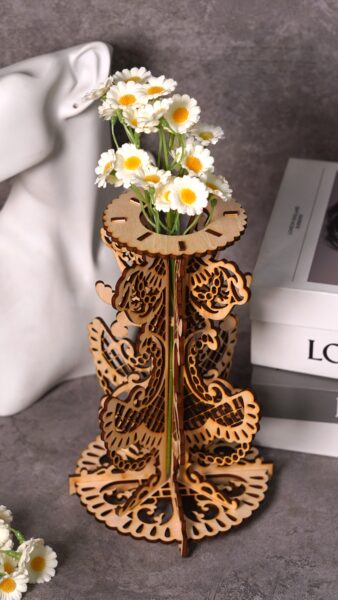
Laser Cut Wooden Vase

Bring elegance and creativity into your home with a stunning wooden vase you make yourself! In this tutorial, you’ll learn how to laser cut and assemble each piece, transforming simple wood sheets into a chic, decorative centerpiece. Ideal for beginners, this hands-on project lets you see your creation come to life, piece by piece—perfect for adding a personal touch to any space.
Supplies
Machine Used
Thunder Bolt 30W
See more details about this machine→
Material Needed
3mm Plywood
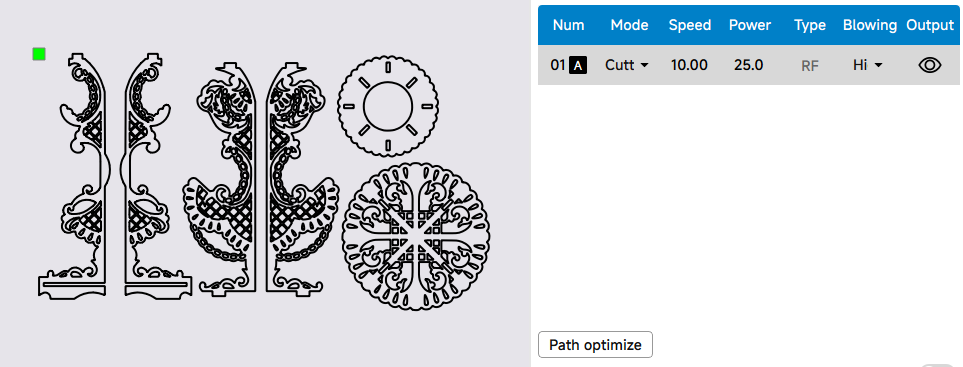
Settings
Cutting Plywood
- Speed:10mm/s
- Max Power:25%
- Min Power:10%
- Number of Passes:1
Downloads
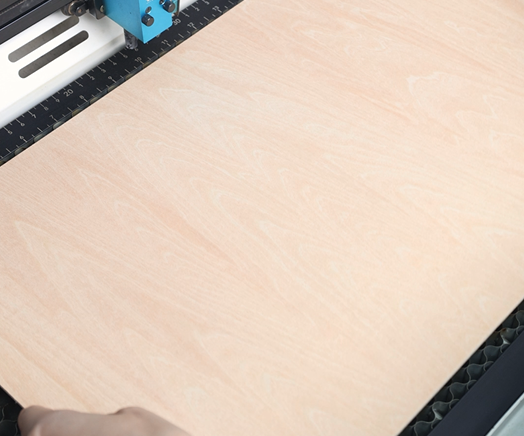
Place the Material on the Laser Bed
● Use a smooth wooden board suitable for laser cutting (e.g., birch or maple, 3 mm thick).
● Place the wood flat on your laser cutter bed. Ensure the surface is clean and free of dust or oils. Fingerprints can sometimes burn slightly during engraving, leaving dark marks.
Open the File and Check the Settings
Open your laser software(I use LaserMaker) and import the design file into your laser software. Adjust the layout so it fits properly within your material size. Before moving on, double-check your and cutting parameters to match the thickness and type of wood you’re using.
Tip: Make sure the bed size of the holder matches your desired tea light candle. Most standard tea lights are 38 mm in diameter.
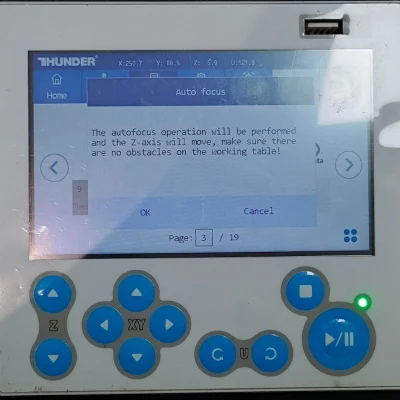
Focus Your Laser Machine
Proper focusing ensures neat, polished edges. If your machine has auto focus, use it for quick setup. For manual focusing, lower the laser head with the focus stick until it touches the wood surface at a perfect angle. Always double-check before cutting.
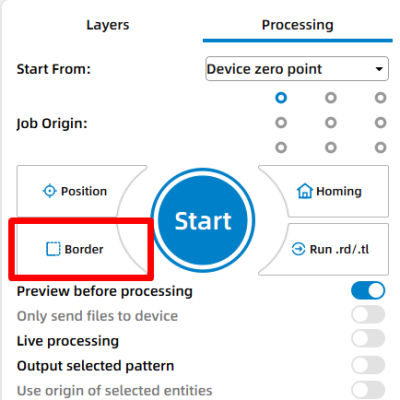
Frame the Design and Start Laser Cutting
Then click “Frame” or “Border” to preview your cutting area and make sure the design fits nicely on your board. This confirms your material placement and avoids wasting wood. Adjust as necessary. Once everything is set, start the laser job.
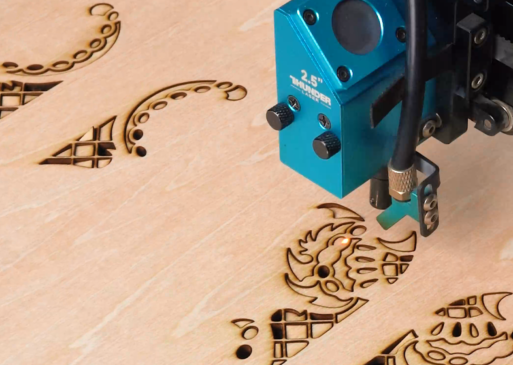
Monitor the Laser Cutting Process
Stay close to the machine while it’s running and watch the cutting and engraving progress. Keep an eye out for excessive smoke, small flame-ups, or any movement of the material that could affect the outcome. Make sure your workspace is well-ventilated, and rely on air assist if available to achieve cleaner edges on the wood.
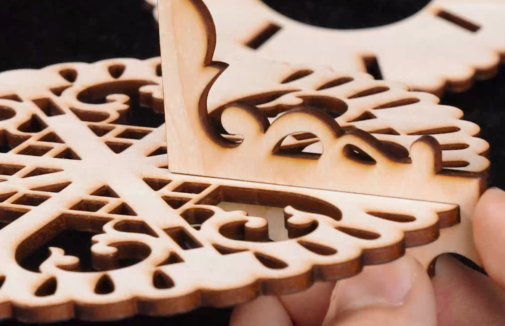
Assemble the Wooden Vase
Once all pieces are cut, carefully remove them from the laser bed. Align the interlocking tabs and slots. The design fits snugly without glue, but for your safety, use glue to secure the joints firmly and avoid any accidents.
Tip: Gently sand any rough edges if necessary to make assembly smoother.
Complete the Task
Inspect the vase for any rough edges. You can lightly sand if necessary. Optionally, apply a clear wood finish or oil to enhance color and protect the wood. Your vase is now ready to display fresh flowers, dried arrangements, or as a standalone decorative piece.